Why Faceless YouTube Channels Are Taking Off Right Now
Channels with fewer than 10 videos are hitting 200,000 subscribers and crossing 20 million total views. That’s not luck — it’s a repeatable pattern, and it’s happening because a specific style of content combined with AI tools has made high-quality video production accessible to almost anyone.
If you’ve been grinding out uploads and still barely cracking 100 views, the frustration is completely valid. But here’s what most people miss: the problem usually isn’t effort. It’s the method.
This guide gives you the complete, step-by-step blueprint to build a faceless YouTube channel from scratch using AI tools — from picking the right niche, to professional branding, scripting, video production, and full SEO optimization so your content actually gets discovered.
No filler. No vague advice. Just the exact process that’s producing real results right now.
Step-by-Step Guide: Building Your Faceless AI YouTube Channel
Step 1: Find a Niche That Has Room to Grow
The most common mistake new creators make is choosing a niche based on personal interest alone — without checking whether it has any real traction on YouTube.
You want a niche that is active and expanding. Not one that’s already locked down by massive channels competing for every keyword, and not one so niche that nobody’s searching for it.
A practical approach is to use a niche research tool like NextLV to analyze channel performance in a category you’re considering. Look for these signals before committing:
- Multiple channels with strong, consistent view counts (not just one dominant channel)
- Smaller, newer channels also gaining traction — this shows the niche rewards new entrants, not just established players
- A reasonable estimated RPM (revenue per thousand views) that makes monetization worthwhile
Documentary-style educational content — covering topics like nature, science, space, history, and world events — fits this profile well right now. Monthly view counts in the tens of millions are common in these spaces, and RPMs are solid enough that even mid-sized channels become financially viable relatively quickly.
Once you’ve confirmed a niche showing these patterns, you’re ready to build.
Step 2: Set Up Your Channel Branding (Don’t Skip This)
Branding matters more than most beginners realize — even for faceless channels. Viewers form instant impressions. A weak channel name or a poorly designed logo signals low quality before a single second of your video plays.
Here’s the AI-assisted workflow to build a brand that looks professional from day one.
Step 2a: Generate a Channel Name with ChatGPT
Open ChatGPT and use a prompt like this:
“Generate 10 short, memorable channel name ideas for a documentary-style YouTube channel. Style them similarly to popular names like Fern, Atrium, and Cipher. Keep them one or two words, easy to pronounce, and relevant to [your niche].”
You’ll get a curated list of polished, brand-ready options. Pick the name that feels right, then move on.
Step 2b: Write an SEO-Optimized Channel Description
In the same ChatGPT conversation, follow up with:
“Write an SEO-optimized YouTube channel description for a channel called [your chosen name]. The channel covers [your niche]. Include relevant keywords naturally, explain what viewers will learn, and keep the tone engaging and credible.”
This takes about 30 seconds and produces a description that actually helps YouTube understand what your channel covers — which directly improves how it gets categorized and recommended.
Step 2c: Create Your Channel in YouTube Studio
Go to YouTube Studio. Create a new channel, enter your chosen name, pick a unique channel handle, and paste in your freshly generated description. Simple.
Step 2d: Generate a Logo with Leonardo AI
Back in ChatGPT, ask it to write a text-to-image prompt for your logo:
“Write a detailed text-to-image prompt for a professional YouTube channel logo for a channel called [your channel name]. The style should be modern, minimal, and 3D rendered. Square format, with a bold, clean icon.”
Copy the output. Open Leonardo AI, set the model to Leonardo Phoenix, set the aspect ratio to 1:1, paste your prompt, and generate. You’ll have four professional logo options in about 20 seconds. Download your favorite and upload it to YouTube Studio.
Step 2e: Design a Banner with Canva
Open Canva and search for YouTube banner templates. Pick a clean, minimal design that matches your channel’s tone. Customize it with your channel name and a simple value line like “New videos every week.” Strip out any cluttered elements, download the file, and upload it to YouTube Studio.
Once everything looks good, hit Publish to lock in your channel settings.
Step 3: Optimize Your Channel for Search Visibility
This is a step the vast majority of new creators skip entirely — and it costs them weeks of early traction.
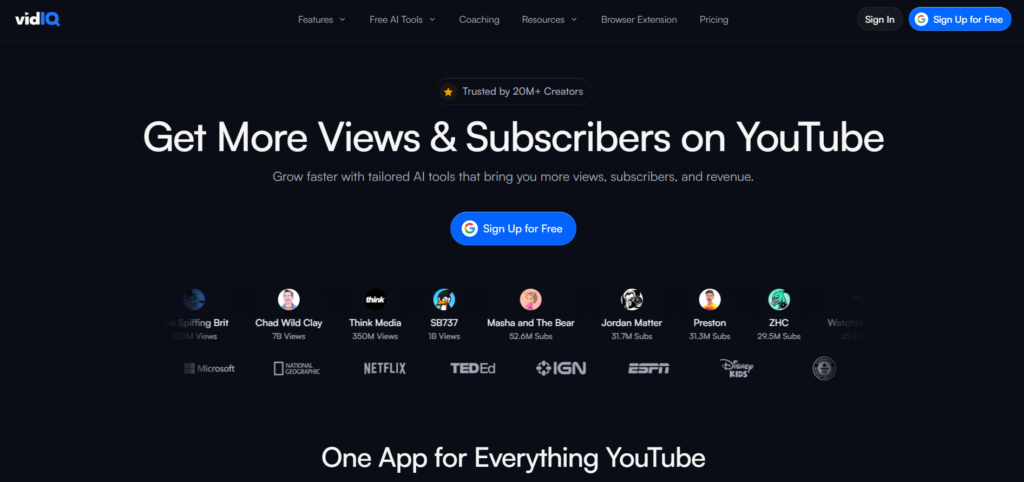
Step 3a: Add Channel Keywords Using VidIQ
Inside YouTube Studio, go to Settings → Channel Settings. You’ll find a Keywords section. These tags help YouTube correctly categorize your channel so it surfaces in the right searches and recommendations.
Open VidIQ and use the AI Coach feature with this prompt:
“Create a list of optimized YouTube channel keywords for a channel called [your channel name] that covers [your niche]. Focus on current trending terms.”
The AI Coach pulls real-time data to give you tailored keyword suggestions. Copy the list and paste those tags directly into your YouTube Studio channel keyword section.
Step 3b: Verify Your Phone Number
Inside the Feature Eligibility settings in YouTube Studio, confirm your phone number. This sends YouTube a signal that your channel is operated by a real person — not an automated spam account. It’s a small step that can noticeably affect how quickly your early videos get distributed to new viewers.
Step 3c: Warm Up Your Account Before Your First Upload
If your channel is brand new, spend approximately one week actively using YouTube as a viewer before publishing anything. Watch content in your niche, like videos, and leave genuine comments. This natural account activity can help prevent your first video from landing in what many creators call “100 views hell” — the early plateau where YouTube barely distributes new content from channels with zero history.
Creating Your First Faceless AI Video
Step 4: Research Winning Video Topics
You don’t have to guess what works. Let existing successful channels in your niche show you.
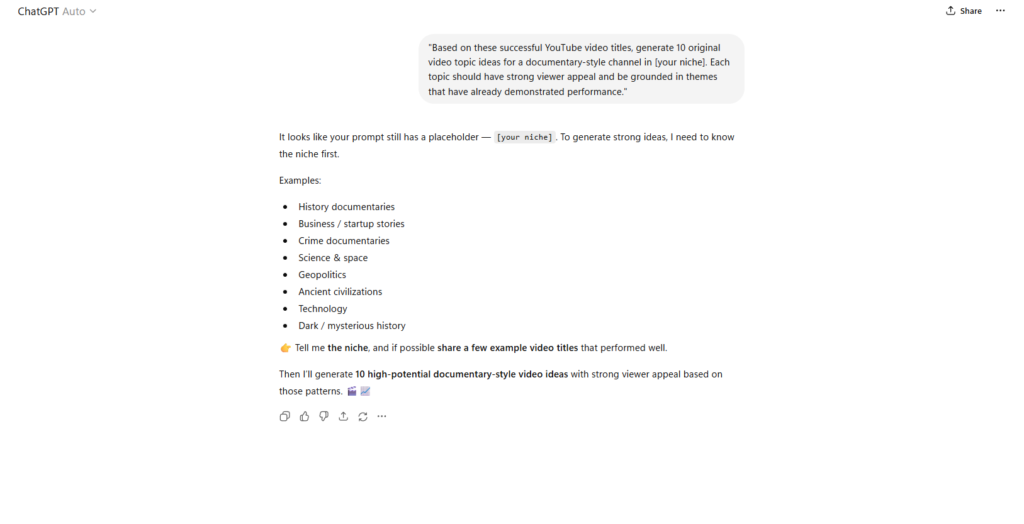
Find three to five top-performing videos in your niche and copy their titles. Open a new ChatGPT conversation and paste the titles in with this prompt:
“Based on these successful YouTube video titles, generate 10 original video topic ideas for a documentary-style channel in [your niche]. Each topic should have strong viewer appeal and be grounded in themes that have already demonstrated performance.”
ChatGPT will return a curated list of data-informed ideas — not random guesses — built on concepts that have already been proven by other creators.
Step 5: Write a Full Video Script
Choose the topic you like most from the generated list. Then prompt ChatGPT:
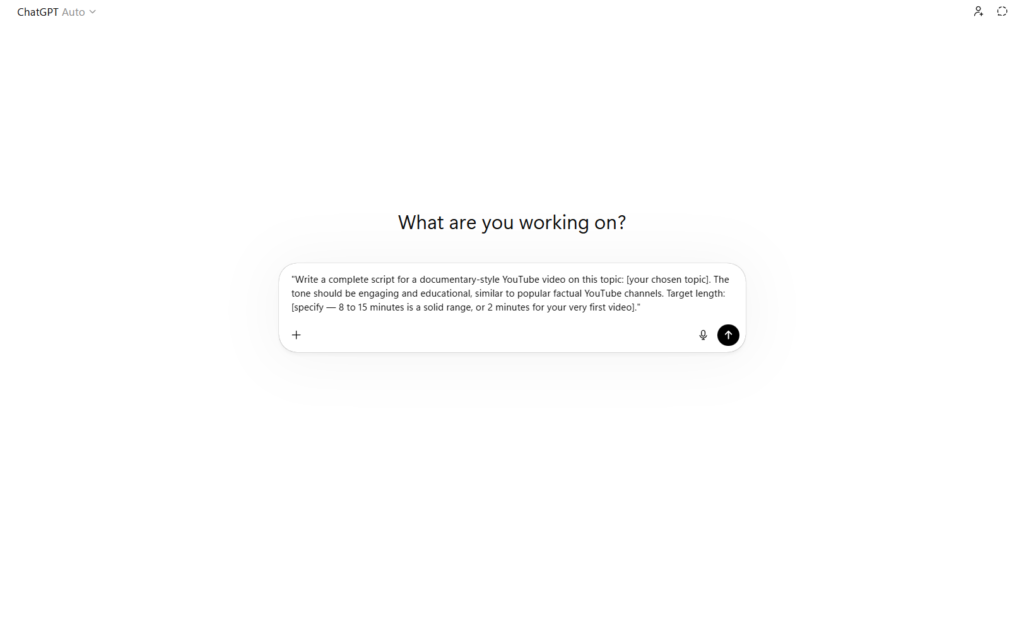
“Write a complete script for a documentary-style YouTube video on this topic: [your chosen topic]. The tone should be engaging and educational, similar to popular factual YouTube channels. Target length: [specify — 8 to 15 minutes is a solid range, or 2 minutes for your very first video].”
The output will be a structured, voiceover-ready script. For your first video, a shorter 2-minute script is completely reasonable — it keeps production manageable while you get familiar with the tools.
Step 6: Generate All Your AI Prompts in Batches
Most beginners slow down here by creating everything one piece at a time. The smarter approach is to batch all your prompts before opening any video production tool.
In the same ChatGPT conversation, run these three prompts in sequence:
1. “Generate 25 image prompts in 3D animation style that visually represent this script. Each image should correspond to roughly 3-5 seconds of screen time.”
2. “Now generate 25 animation prompts based on the script and image prompts above. Describe how each scene should move and feel.”
3. “Finally, generate 25 sound effect prompts that match each scene in the script above.”
Save all three sets of prompts in a single document. You now have everything you need to produce the full video — before opening a single production tool.
All prompts referenced in this guide are available here: 👉 Access the full prompt document
Step 7: Produce the Video Inside Videotok
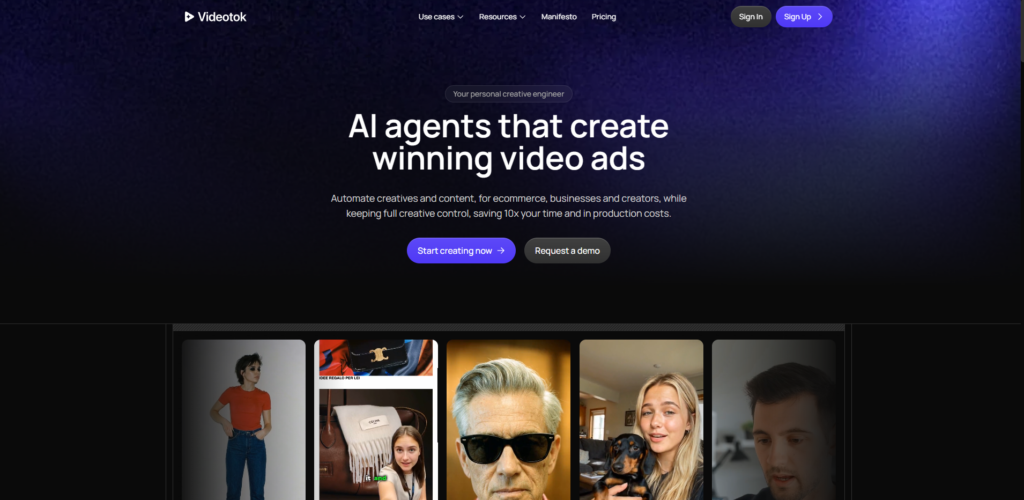
Videotok is an all-in-one AI video creation platform that handles voiceover, image generation, animation, and sound effects in a single workspace. No juggling five different tools. No messy exports between apps.
Here’s the full production workflow inside Videotok:
1. Add your voiceover Select Create Video from Scratch. Open the Voiceover section. Paste your full script. Browse the available voice options and select one that fits your channel’s tone. Click Add Voice — your voiceover is automatically imported into the video timeline.
2. Generate your images Open the Media section. Copy your first image prompt from ChatGPT. Paste it into the prompt field inside Videotok. Set the aspect ratio to 16:9. Select Google Imagen 4 Ultra for the best quality-to-cost balance. Generate your first image (takes about 10 seconds). Repeat for all 25 prompts — you can batch-generate to save time.
3. Animate each scene Click on the first generated image to open the Image to Video feature. Copy the matching animation prompt from ChatGPT. Paste it into the prompt field. Keep the aspect ratio at 16:9 and select the Hailuo Pro model. Generate your animated clip — this takes 1-2 minutes per scene. Repeat for all 25 scenes.
4. Add sound effects Open each animated clip and use the Sound Effect feature. Paste the matching sound effect prompt and generate. The output will sync naturally to the scene’s visual content. Repeat for all scenes.
5. Arrange your timeline Drag the voiceover track one row down in the timeline. Place your animated video clips above it in sequence, trimming each clip to match the voiceover pacing as needed.
6. Export Once all clips are aligned with the voiceover, export your finished video.
Note: For more advanced motion graphics effects, Hera is worth exploring as a complementary AI animation tool for creators who want to add a higher level of visual sophistication to their videos.
Step 8: Create a High-Quality Thumbnail
Your thumbnail is the single biggest factor in whether a viewer clicks your video. A screenshot or generic stock image will not cut it.
In ChatGPT, use this prompt:
“Write a detailed text-to-image prompt for a YouTube thumbnail in 3D render style for a video titled: [your video title]. Make it bold, dramatic, and visually striking. High contrast. Cinematic feel.”
Open Leonardo AI. Select the Leonardo Phoenix model. Paste your prompt and generate. You’ll have professional thumbnail samples in about 20 seconds. Download your preferred option and upload it when you publish your video.
Step 9: SEO Optimize Everything Before Publishing
Creating a great video is half the job. YouTube needs clear content signals to rank and recommend it. Skipping this step is the difference between a video that gets discovered and one that sits at 80 views permanently.
Open VidIQ’s AI Coach and use this prompt:
“Act as a YouTube SEO expert. My video title is: [your video title]. My channel covers [your niche]. Generate an optimized video description with relevant hashtags and a complete list of high-performing tags for this video.”
Copy the output and paste it as your video description inside YouTube Studio.
Before publishing, also confirm these settings:
- Made for Kids: No
- Altered or Synthetic Content: Yes (required when your video contains AI-generated visuals or voiceover)
- Tags: Paste in the full list from VidIQ
- Visibility: Public
Then hit Publish.
Common Mistakes to Avoid
- Skipping channel branding. Viewers judge quality before the video even plays. A rushed logo or generic banner signals low effort immediately.
- Uploading on day one of account creation. Spend a week warming up the account first to avoid algorithmic suppression of your first video.
- Using AI scripts without reviewing them. Always read through the generated script before recording. AI outputs occasionally include awkward phrasing or minor factual errors.
- Choosing a niche purely on personal interest without verifying it has an active, growing audience on YouTube.
- Generating too few visuals. A 10-minute video needs roughly 2-3 animated clips per minute for proper pacing. Aim for at least 25 scenes for longer videos.
- Skipping phone number verification in YouTube Studio Feature Eligibility settings.
- Ignoring SEO at upload time. Titles, descriptions, and tags influence your video’s early distribution — they matter from the very first publish.
- Expecting significant results within the first month. Most channels require 90+ days of consistent posting before meaningful growth begins.
Tracking & Improvement
Publishing is where the work starts, not where it ends. These two tools give you everything you need to understand what’s working and what to improve.
YouTube Studio Analytics — Review these key metrics 48-72 hours after every upload, and again at the 7-day mark:
- Click-through rate (CTR): If it’s consistently below 3%, test a new thumbnail on that video.
- Average view duration: If viewers drop off in the first 30 seconds, rework your video’s opening hook.
- Impressions: How widely YouTube is distributing your content to potential viewers.
- Traffic sources: Whether views are coming from search, browse features, or suggested videos — this tells you where to double down.
Google Search Console — More directly useful if you’re running a blog or website alongside your channel. It reveals how your brand and content appear in Google search results, which matters for long-term discoverability beyond YouTube’s algorithm.
Use what you learn from each video to improve the next one — not to second-guess the current one. Data informs. It doesn’t panic.
Frequently Asked Questions
Do I need video editing experience to do this? No. The entire workflow uses AI tools that handle the technical production. If you can copy and paste prompts and follow a sequence of steps, you can produce these videos. No editing timeline experience required.
How long does it take to create one video using this method? For a 2-minute video, expect to spend around 2-3 hours on your first attempt as you get familiar with the tools. Once you know the workflow, production time drops considerably. Batching all your ChatGPT prompts before opening Videotok is the single biggest time-saver.
Is it realistic to reach 200,000 subscribers quickly? The channels referenced as examples are among the strongest-performing cases in this niche — they represent the top end of what’s possible, not the average. Results vary significantly. Most creators will need several months of consistent publishing before seeing meaningful growth. Quality of execution, niche selection, and timing all play a role.
Does YouTube allow AI-generated content? Yes, with transparency. YouTube requires creators to disclose when video content is AI-generated or meaningfully altered by AI. The Altered or Synthetic Content toggle in YouTube Studio is the correct place to do this. Skipping this disclosure when it applies can result in penalties.
What if my first few videos get almost no views? This is normal for brand-new channels. Make sure you’ve verified your phone number, warmed up the account before uploading, and fully optimized your title, description, and tags. Give each video at least 2-3 weeks to accumulate organic distribution data before drawing conclusions.
Do I need a paid VidIQ plan? The AI Coach feature used in this guide is available on VidIQ’s paid plans. There is a free tier, but AI Coach access may require an upgrade. Check VidIQ’s current pricing for the most up-to-date information.
Can I apply this to a niche other than documentary/nature content? Yes. The workflow applies to any faceless documentary-style format — history, science, space, technology, finance, true crime, and similar educational niches all follow the same production logic. The core requirement is verifying niche activity before committing.
How many videos should I post per week? One video per week is a sustainable pace using this method, especially while learning the tools. Consistency matters more than frequency. One polished, well-optimized video per week outperforms three rushed, underoptimized ones every time.
Wrapping Up: Your Next 7 Days
The workflow in this guide removes most of the technical barriers that used to make faceless YouTube feel out of reach. AI tools handle scripting, voiceover, image generation, animation, and sound effects. Your job is niche selection, quality control, and showing up consistently.
Here’s your action plan:
- Day 1-2: Choose your niche and set up your fully branded channel.
- Day 3-4: Research winning topics, generate your script, and batch all your AI prompts in ChatGPT.
- Day 5-6: Produce your video in Videotok, animate your scenes, create a thumbnail in Leonardo AI.
- Day 7: SEO optimize your title, description, and tags using VidIQ — then publish.
Your first upload will feel harder than every one that follows. The tools become familiar fast, and the workflow becomes repeatable. The only thing separating you from the channels that are already growing is the decision to start — and then stay consistent.
Share this guide with other creators in your network, drop it in YouTube creator communities, or save it as your go-to production checklist. The more you use it, the faster the whole process becomes.
Tools Mentioned (Quick Breakdown)
ChatGPT Generates channel names, descriptions, video scripts, image prompts, animation prompts, and sound effect prompts. Acts as the creative backbone of the entire production workflow.
NextLV A niche research tool that analyzes YouTube channel performance, audience size, estimated RPM, and market activity. Helps you validate a niche before investing time in it.
Leonardo AI Generates high-quality AI images and thumbnails using text prompts, with the Leonardo Phoenix model. Produces professional-grade visuals with no design skills required.
Videotok An all-in-one AI video creation platform covering voiceover, image generation, animation, and sound effects in a single timeline. Try it here: videotok.app Eliminates the need to juggle multiple tools — the entire production pipeline lives in one place.
VidIQ A YouTube SEO and analytics tool with an AI Coach that generates optimized channel tags, video descriptions, and keyword suggestions based on real-time data. Bridges the gap between creating content and getting it discovered.
Canva A graphic design platform with YouTube banner templates and simple drag-and-drop customization. Lets non-designers build a professional channel banner in minutes.
Hera An AI motion graphics tool for more advanced animated video effects. Try it here: https://hera.video/ Useful for creators who want to elevate visual production quality beyond standard AI animation.
📄 All prompts used in this guide: Access the full prompt document
Leave a Reply